Your partner for Industrial-Grade Electronics. We specialize in complex PCB Layouts, Embedded Firmware, and Rapid 3D Prototyping to bring your hardware to life.
Engineering Trusted By
Precision Engineering from Concept to Manufacturing.
Complex multi-layer routing, impedance control, and DFM optimization. We verify every trace before fabrication.
Rapid prototyping with industrial SLA/FDM printers. Custom enclosure design for your PCB.
End-to-end production lines. Component sourcing, SMT assembly, testing jigs, and final boxing.
Custom Gateways (ESP32/GSM) + White-label Cloud Dashboard. Real-time monitoring for industrial applications.
Bare-metal C/C++ coding for STM32, ESP32, PIC, and AVR. RTOS and low-power optimization.
Global supply chain network. We source authentic ICs and sensors to prevent delays.
Feasibility studies, component selection, and proof-of-concept testing before we draw a single line.
Schematic capture, multi-layer routing, and firmware development for a robust electronic brain.
We assemble the PCB and use 3D printing to create test enclosures, verifying fit and function instantly.
Setting up the assembly line, quality control (QC) jigs, and final boxing for market release.
Transparency is our policy. We don't just build electronics; we teach the engineering behind it. Watch our lead engineer break down complex PCB layouts on our YouTube channel.
Visit Channel
How we built a rugged ESP32 gateway for Box8's cold storage monitoring.
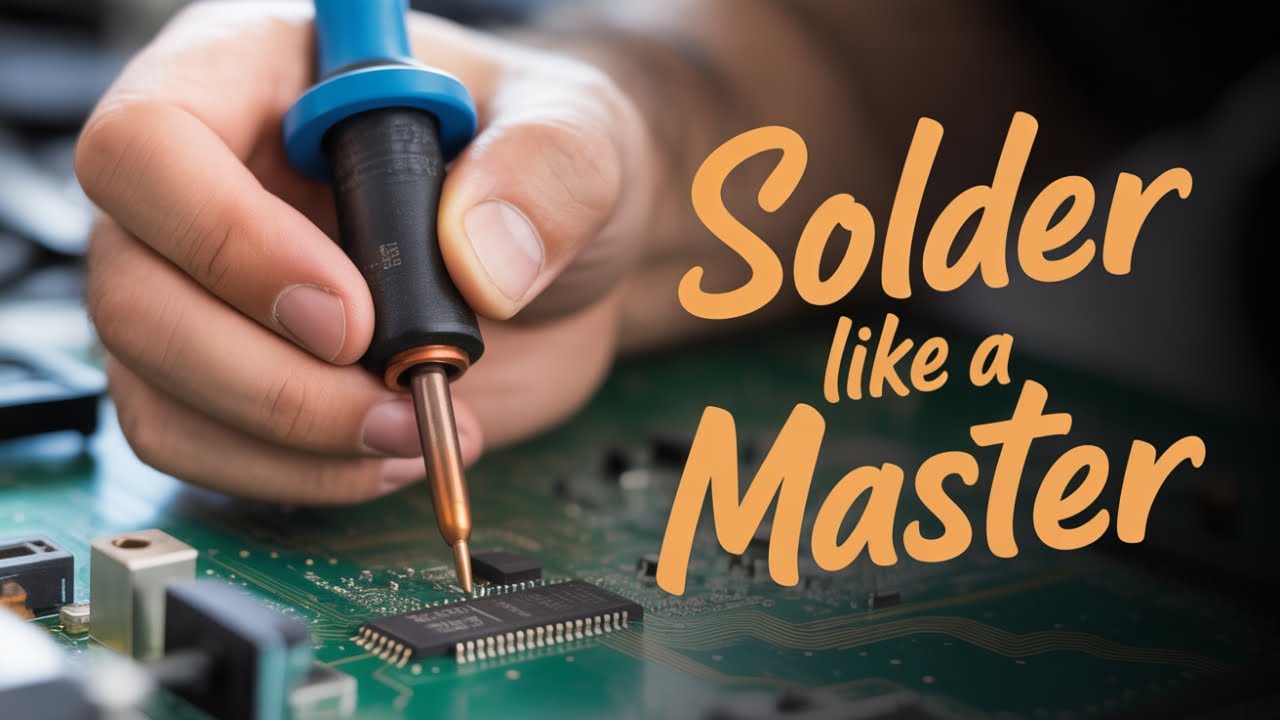
Learn to solder like a pro. Essential tips for beginners and students.
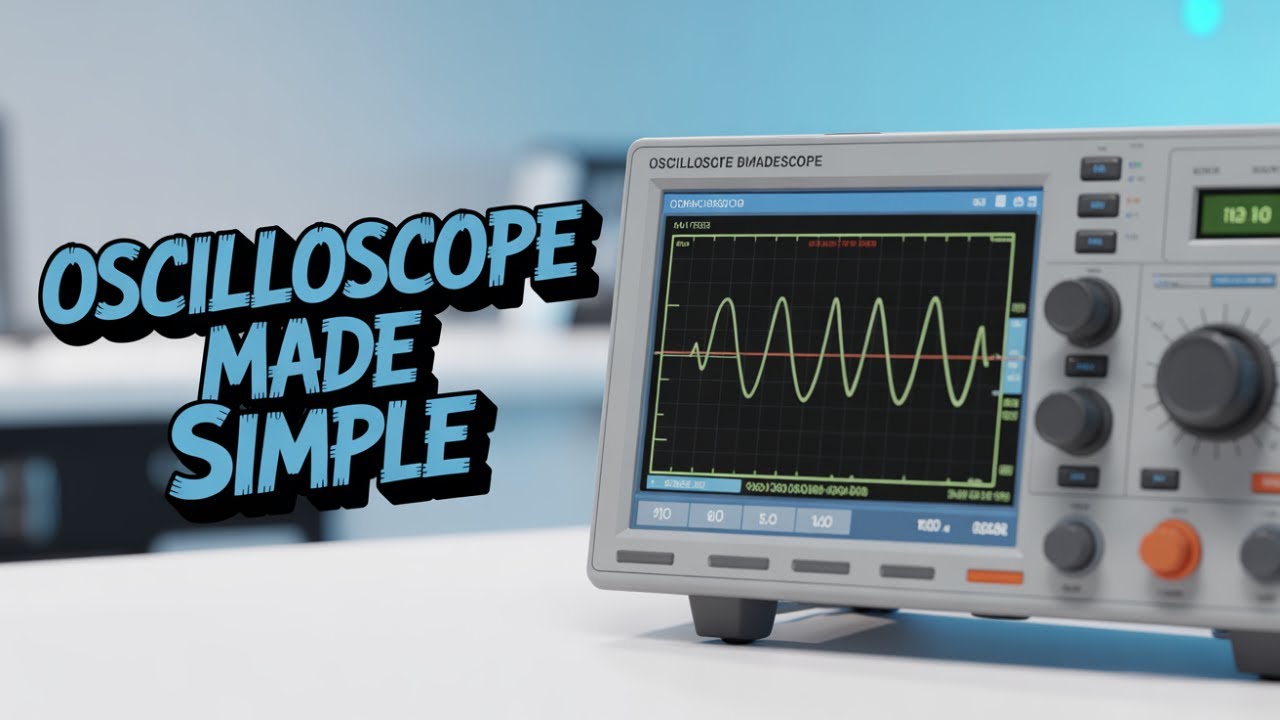
Stop guessing with a multimeter. Learn how to capture signals properly.

Moving from Arduino to professional 32-bit Bare Metal coding.
 Google Rating
5.0/5.0
Google Rating
5.0/5.0
Join the list of satisfied clients who trust GSA Electronic India Pvt. Ltd. for their critical hardware projects.
"Excellent service! I got my custom PCB designed and assembled here. The team is very knowledgeable about ESP32 and IoT projects."
"Great experience with 3D printing. The quality of the enclosure was perfect for my prototype. Highly recommended for engineering students."
"Professional R&D support. They helped me debug my firmware and suggested better components for mass manufacturing."


